
There is a specific look to a professionally wrapped present, and it is not about expensive paper. It is tight corners, no visible tape, and a seam that runs dead straight down the back. All three come from technique, and all three can be learned in about ten minutes.
Most people were taught to wrap by watching someone else wrap badly. The result is the standard domestic present: too much paper bunched at the ends, a seam that wanders, tape everywhere, and a bow doing a lot of covering-up. Here is the version that works.
Set Up Properly First
Wrap on the floor, not a table. You need to press down on the paper as you fold, and a table at hip height gives you no leverage. Professionals work on a low bench for exactly this reason.
Use a proper trimmer or long scissors. The single biggest tell of amateur wrapping is a wavy cut edge. A cheap paper trimmer costs less than two rolls of paper and eliminates the problem permanently. If you’re using scissors, cut in one long continuous motion rather than a series of snips — the snips are what make the wobble.
Get double-sided tape. This is the actual professional secret. Regular tape sits on top of the paper and is visible from every angle; double-sided tape goes underneath the fold and disappears. One roll changes how everything you wrap looks.
Have everything within reach before you start. Paper, trimmer, tape, ribbon, tags, and a pen. Getting up mid-wrap to find the tape is how the paper shifts.
How Much Paper to Cut
This is where most presents are lost before the first fold. Too much paper is worse than too little — excess bunches at the ends and no amount of folding will make it lie flat.
For the wrap-around: place the box on the paper and roll it over once. The paper needs to cover the box plus about an inch of overlap. That’s it. Anything more is bulk.
For the ends: the paper should extend past each end of the box by slightly more than half the box’s depth. So a box 4 inches deep needs about 2.5 inches of paper at each end. Less and you can’t close it; more and you’re folding paper over paper, which is what creates that thick, lumpy end.
Measure this once with a real box and you’ll be able to eyeball it forever.
The Wrap
1. Position the box upside down. The side facing the paper is the side that will be face-up when you’re finished, and it’s the one with no seam. Put the ugly side toward you.
2. Bring the first edge over and tape it to the box. Not to the other flap — to the box itself, with double-sided tape underneath. This anchors everything.
3. Fold the second edge under itself by about half an inch before bringing it over. This is the fold that separates good wrapping from bad. That folded hem gives you a clean, straight edge instead of a raw cut one, and it’s what makes the seam look deliberate. Press it flat with your thumbnail, then bring it over and tape underneath.
4. Do the ends. Push the two sides in first, creating two triangular flaps — top and bottom. Crease those triangles sharply with your fingernail; sharp creases are what make corners look crisp rather than soft. Fold the top flap down, then the bottom flap up, and tape the bottom one underneath.
5. Press every edge. Run your thumbnail firmly along all twelve edges of the box. This takes fifteen seconds and does more for the finished look than the ribbon will.
Why Your Corners Collapse
Almost always one of three things:
The paper was too big. Excess paper has nowhere to go and bunches. Re-cut rather than trying to fold your way out of it.
You didn’t crease. A fold pressed with a flat palm springs back. A fold pressed with a thumbnail stays. Every fold in a wrapped present should be creased, not just folded.
You taped in the wrong order. The side flaps go in first, always. Doing the top or bottom flap first means the sides have nowhere to tuck.
The Awkward Shapes
Cylinders (bottles, candles, tubes). Don’t try to wrap them like boxes. Roll the item in paper cut about three inches longer than the item at each end, tape the seam, then gather each end like a cracker and tie with ribbon. Snip the gathered ends into a fringe for a deliberate finish. For a bottle specifically, a fabric wrap or a bag reads better than paper, and takes ten seconds.
Spheres and soft toys. Paper will never look good. Use fabric, a bag, or tissue gathered at the top. Fighting this is a waste of an evening.
Books. The easiest object to wrap and the best one to practise on. Sharp corners, flat faces, and consistent depth — if your books look wrong, the technique is the problem, not the object.
Soft clothing. Put it in a box. Wrapping a folded jumper directly is the single most common cause of a lumpy present. A cheap flat gift box turns an impossible shape into an easy one.
Awkward, expensive, or genuinely unwrappable. A fabric wrap solves all of these. Our furoshiki fabric wrapping guide covers the folds, and the fabric becomes part of the gift.
Making It Look Expensive
The look people describe as “professional” is usually just restraint plus contrast.
- Pick one paper and wrap everything in it. A pile of presents in one paper looks styled; a pile in eight different papers looks like a jumble sale.
- Kraft paper is the cheat code. It costs less than printed paper, looks intentional, and makes anything you add to it — red ribbon, a sprig of pine, a white pen — read as a design choice.
- Ribbon should contrast, not match. Red paper with red ribbon disappears. Kraft with red, or white with green, has depth.
- One texture is enough. Ribbon or twine or a sprig. Three at once is where wrapping starts looking crafty rather than finished.
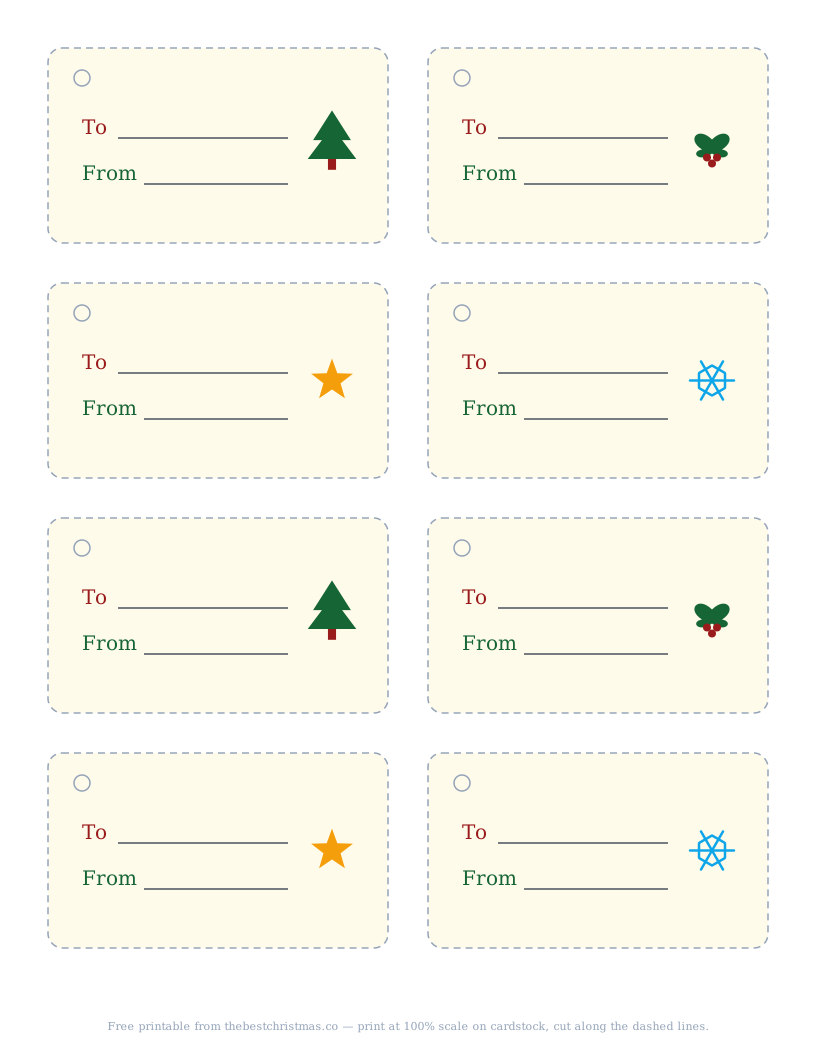
- Handwrite the tags. A printed tag on a hand-wrapped present is a small mismatch that people notice without knowing why. Our free printable gift tags come with blank To/From lines for this reason.
Wrapping in Volume
If you have twenty presents to wrap, do not wrap them one at a time. Batch it:
- Cut all the paper first, matching sheets to boxes. This is the step that benefits most from momentum.
- Wrap everything, without ribbon or tags.
- Ribbon everything.
- Tag everything last, checking against your list as you go.
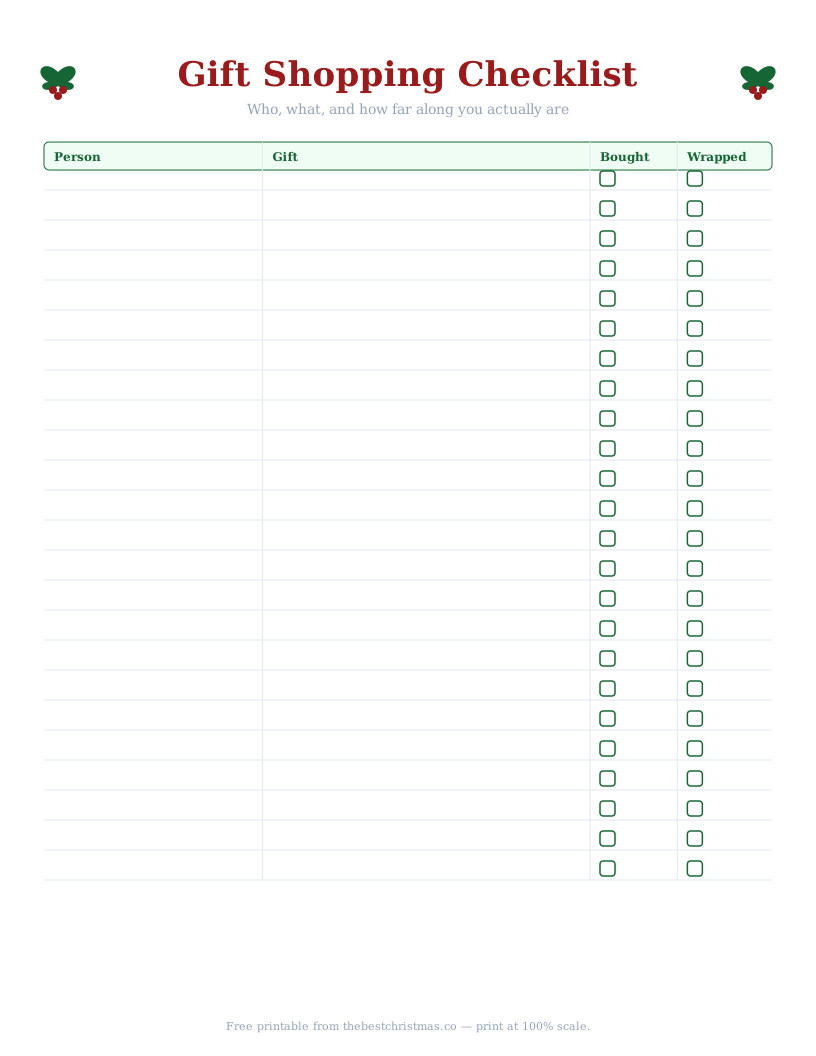
Batching turns four hours of wrapping into about ninety minutes, and it eliminates the classic failure of losing track of which present is whose. The gift shopping checklist has a wrapped column for exactly this.
Put a film on. This is the one Christmas job that pairs perfectly with something you’ve seen before.
The Short Version
Cut less paper than you think. Fold a hem on the overlapping edge. Crease everything with a thumbnail. Tape underneath, never on top. Sides in first on the ends. One paper for everything, contrasting ribbon, handwritten tag.
That’s the whole thing. It takes about thirty seconds longer per present than wrapping badly, and the difference is visible from across the room.
More on making gifts look good: our gift wrapping crafts cover stamped kraft paper and fabric wrapping, and the free printables include a gift tag sheet with eight tags per page.
Liked this? There's one of these every week.
Christmas guides, recipes and gift ideas, written the same way — straight to your inbox.
🎄 You're in! Check your inbox to confirm.
Something went wrong. Please try again.